Our First Camper Trip: How We Prepared and What to Avoid
We have been looking forward to documenting this milestone for some time now. . . our first camper trip!
This post may contain affiliate links. That means if you click and buy, I may make a commission at no cost to you.
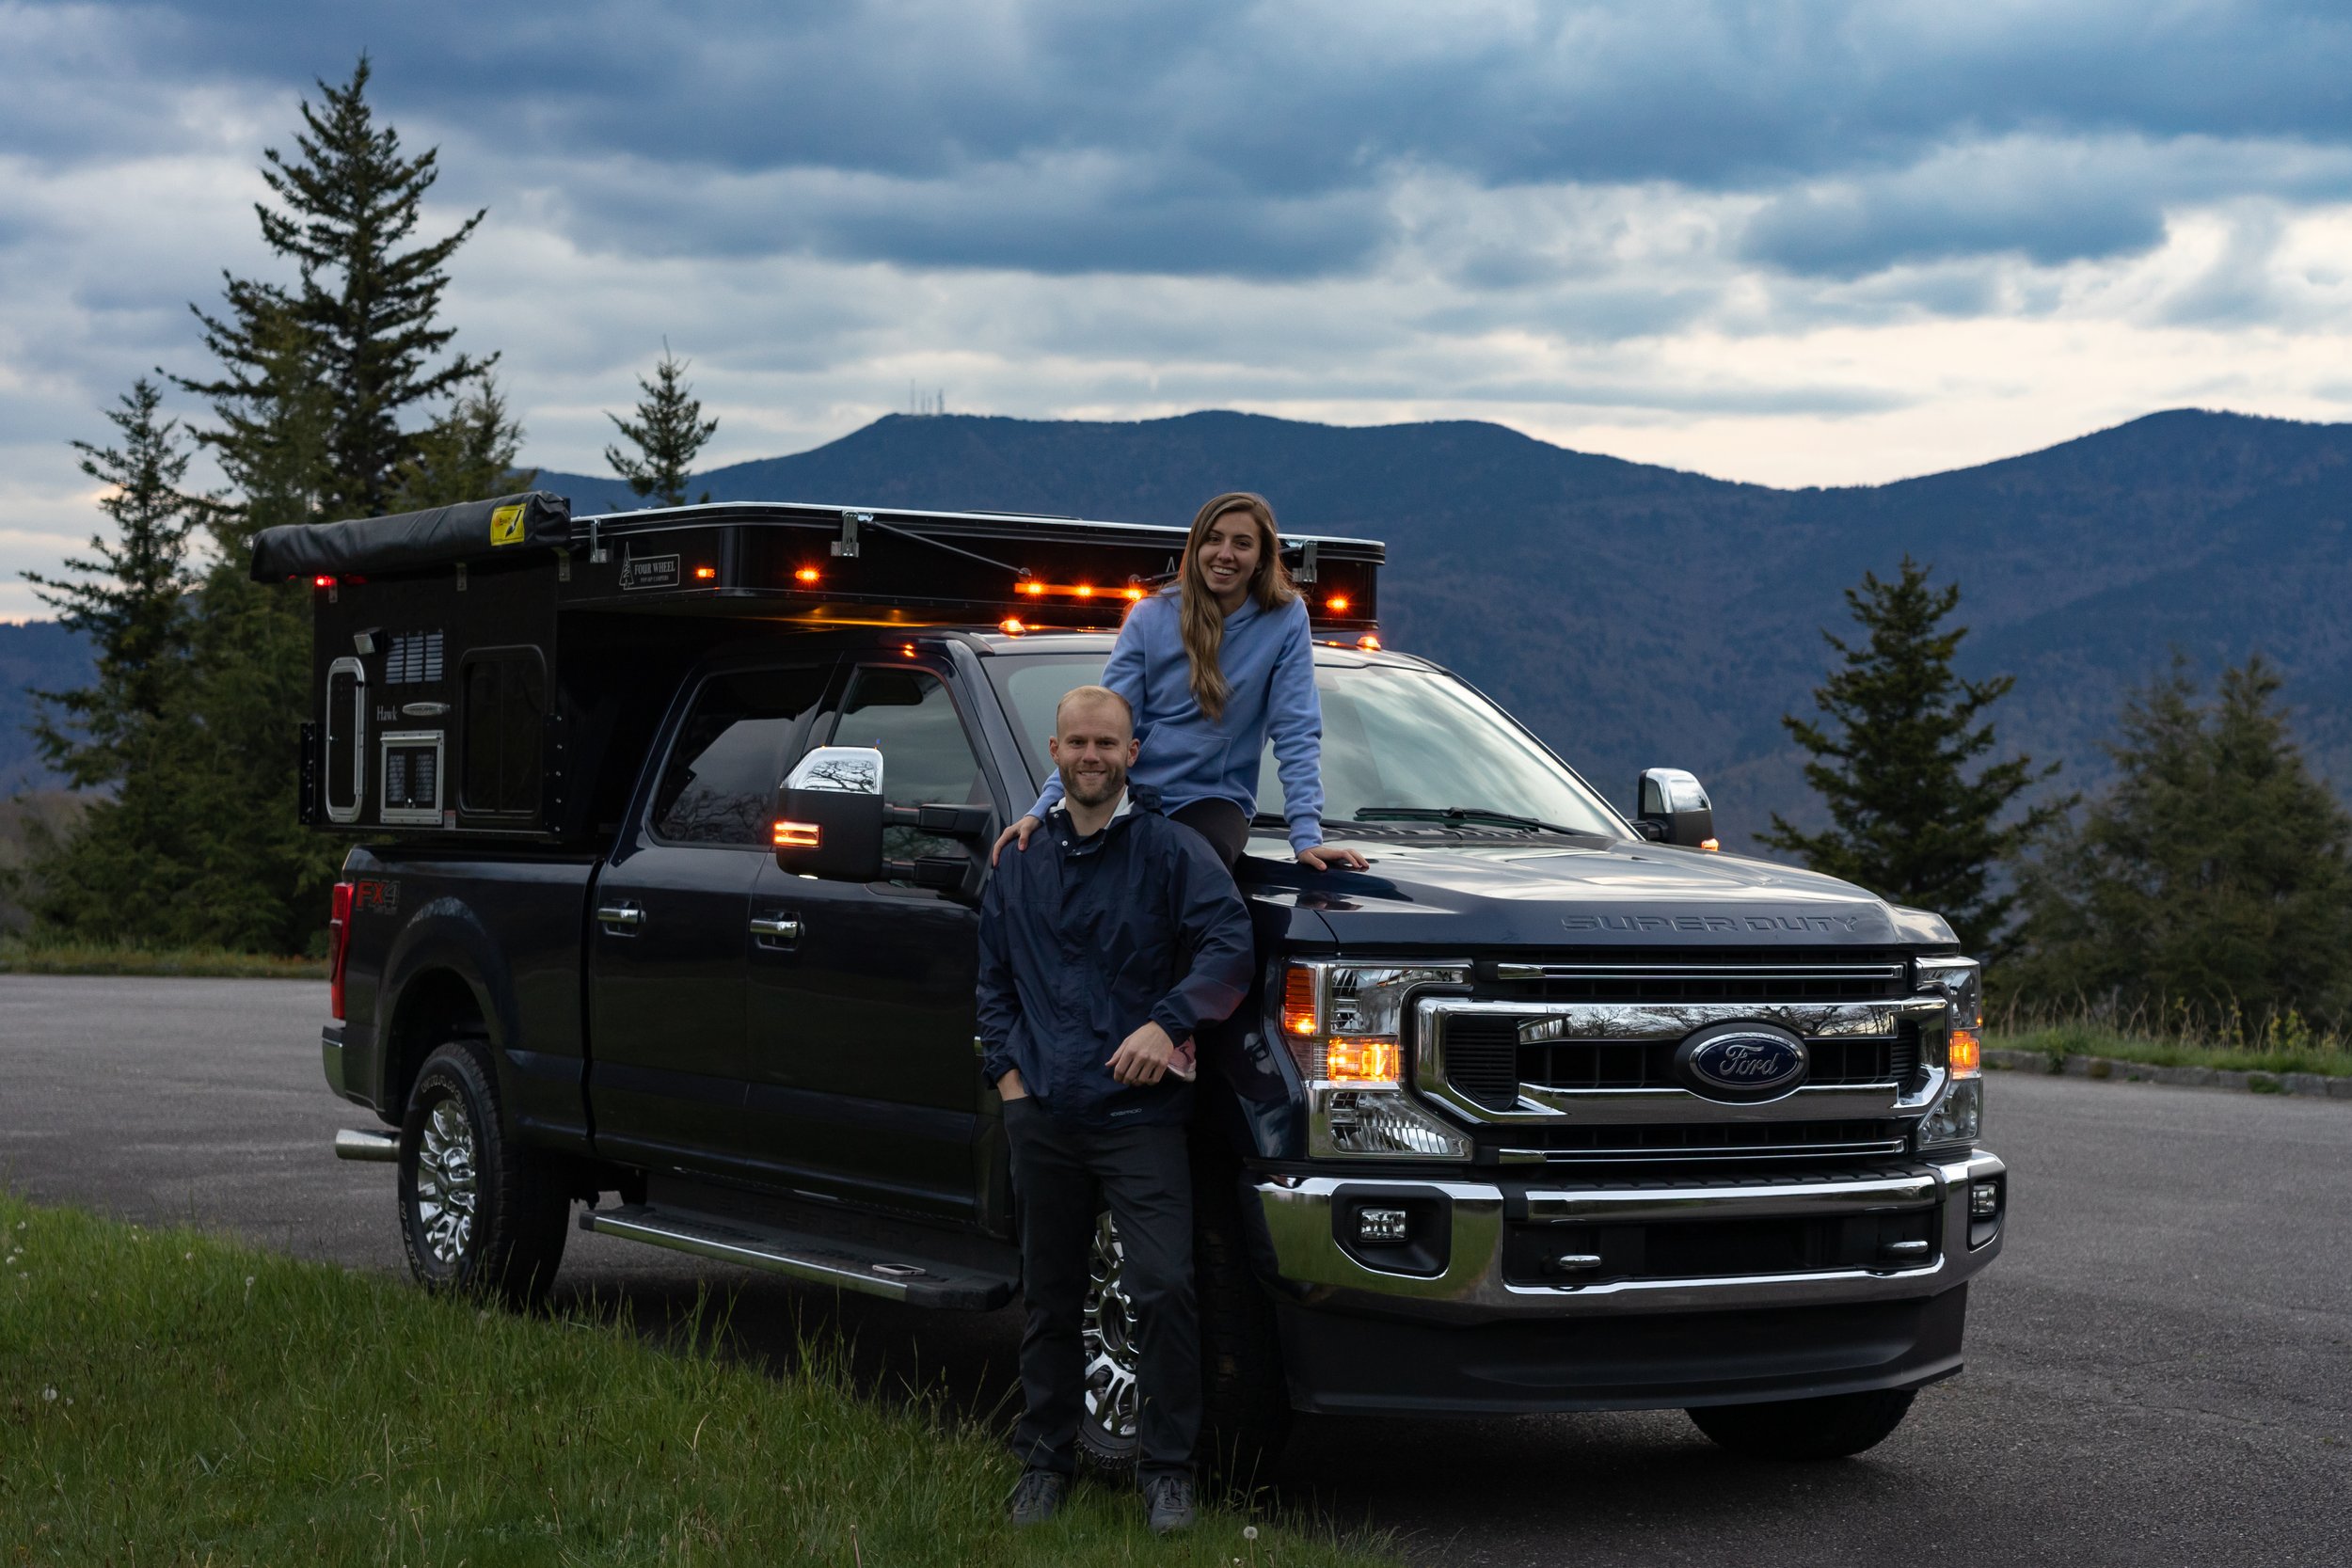
Our 2021 Four Wheel Camper Hawk on a 2020 F-350
TABLE OF CONTENTS
THE GAME PLAN
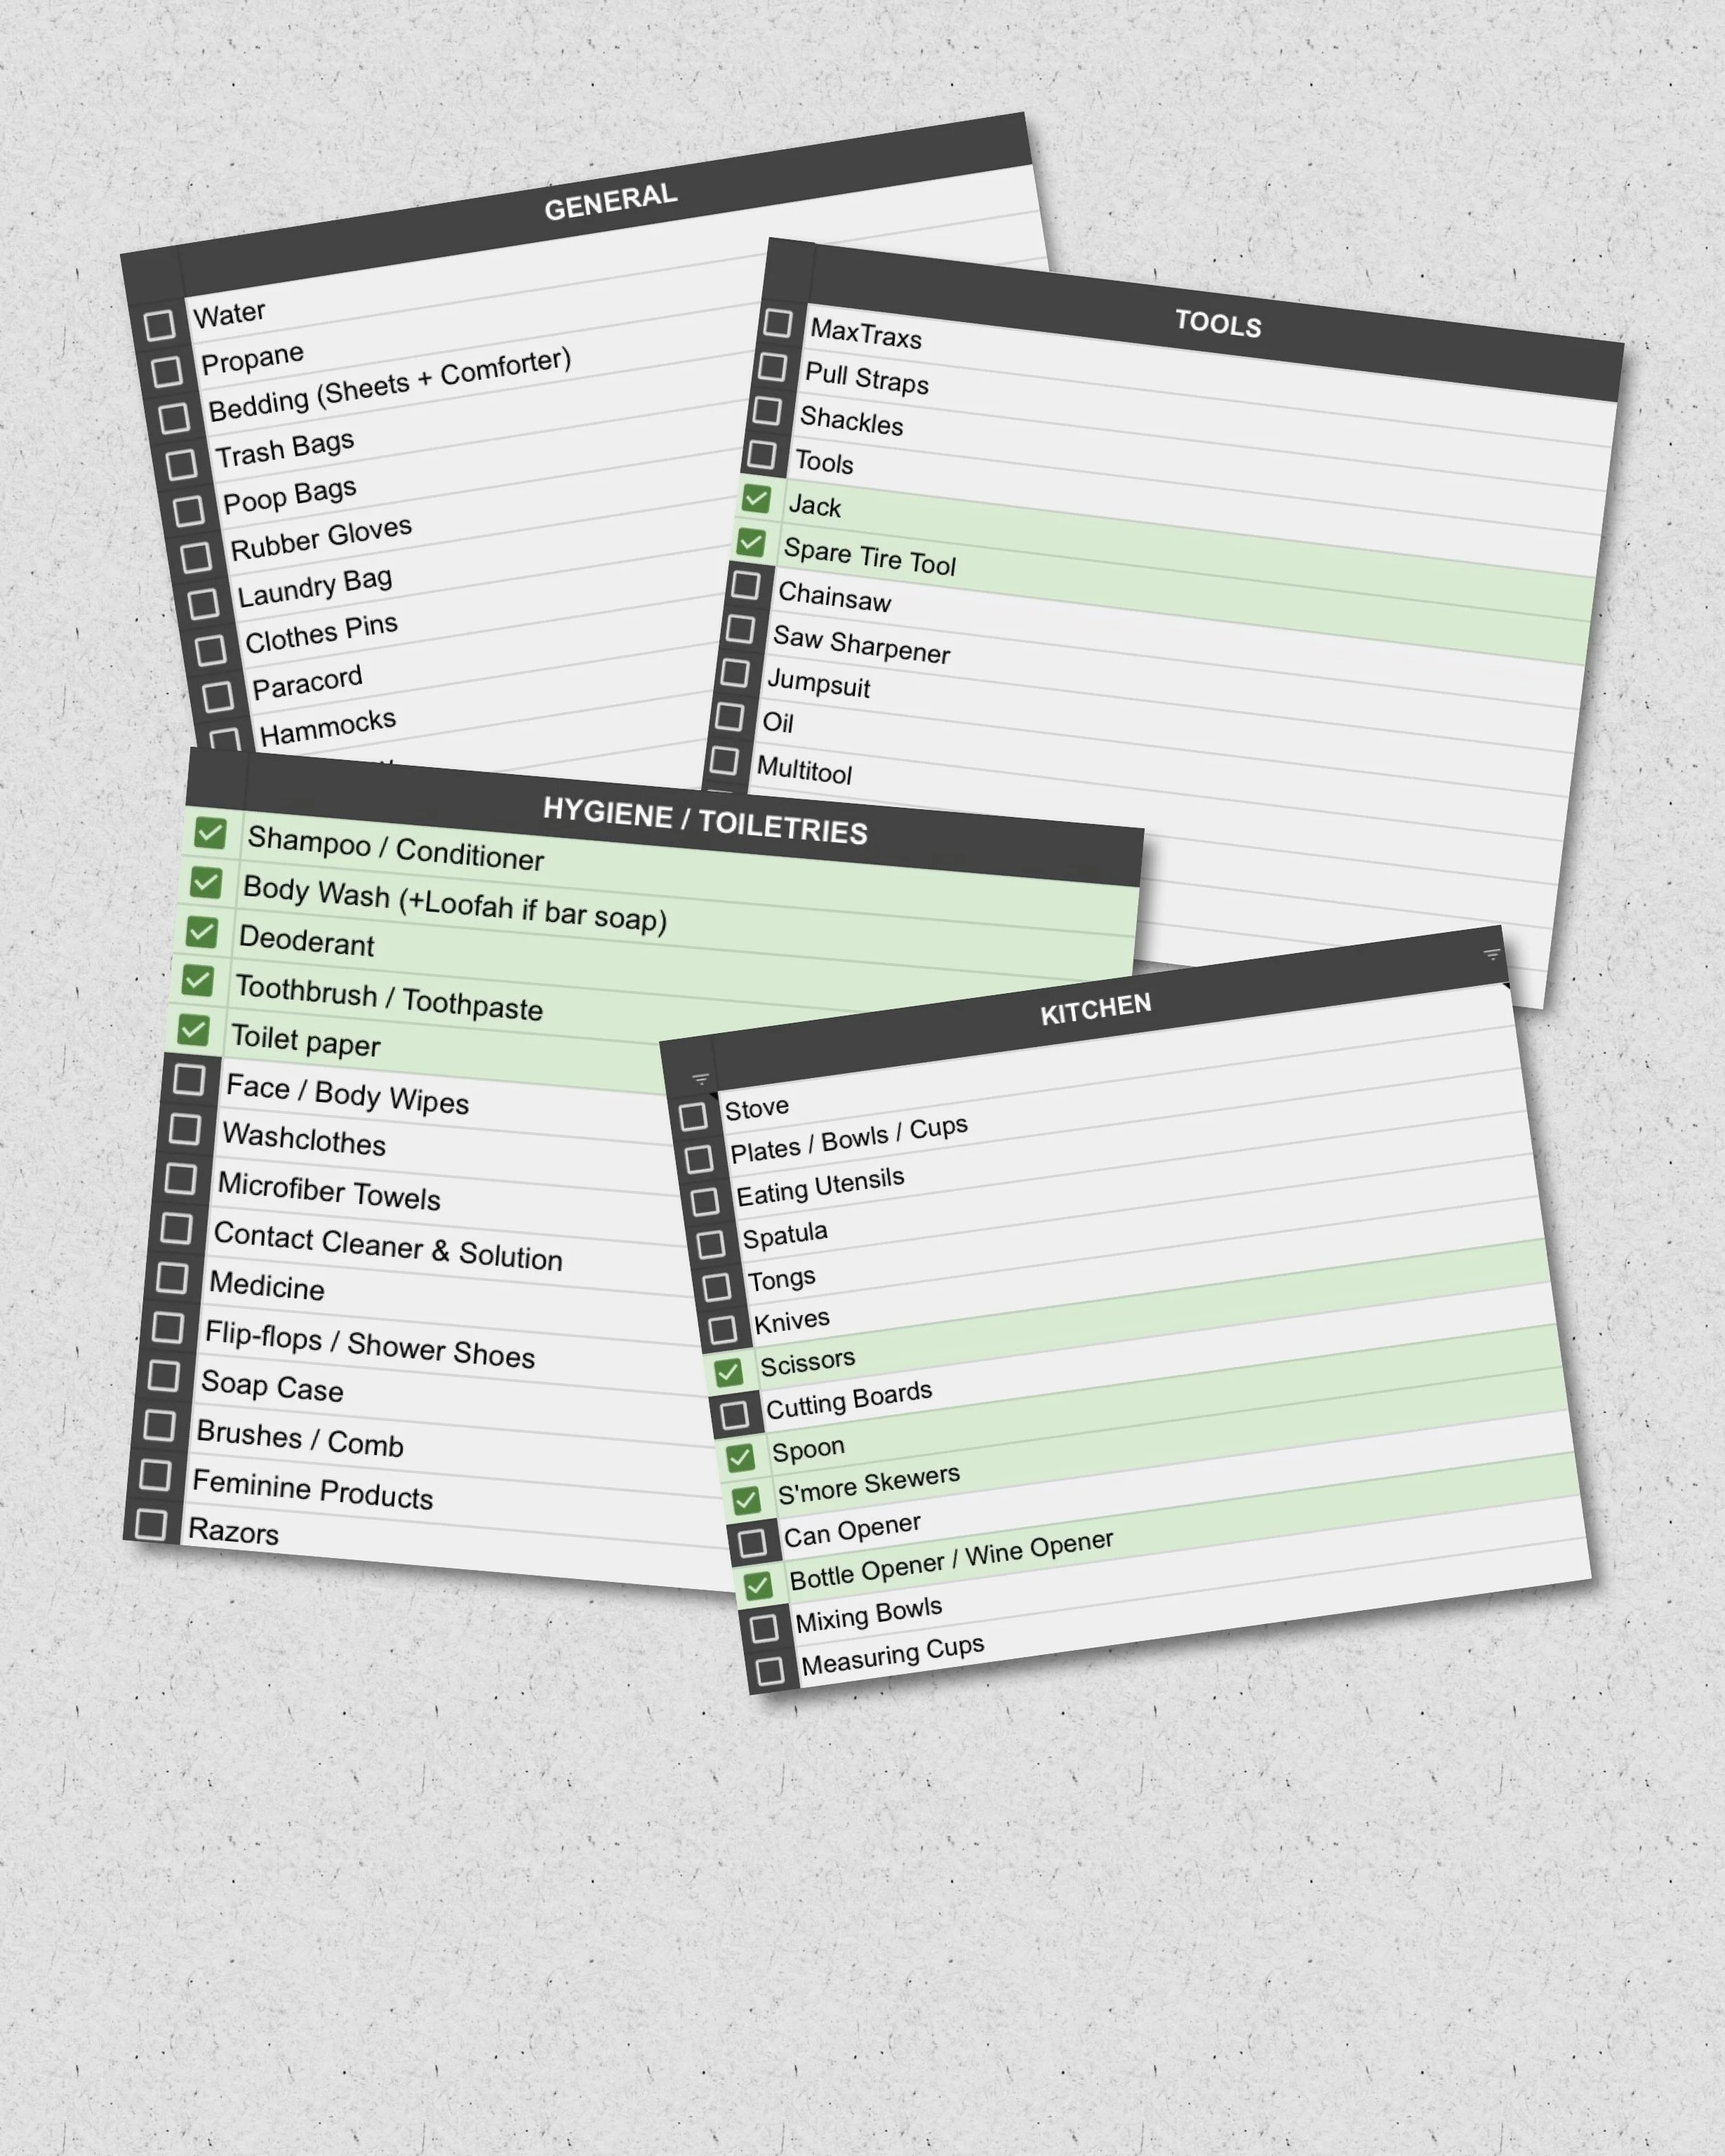
THE PRE-TRIP CHECKLIST
WHAT WE TESTED
Cookware
Cooking Inside
The Bed
WHAT DID WE FORGET
The Shower
Storage
TAKEAWAYS
1. THE GAME PLAN
While we got to experience what it could be like on the road, we didn’t have nearly enough time to get a feel for everything.
We did learn from the experience of that trip however (as well as more trips since), so for your sake, we’ve put together this list of things we tested, things we should’ve tested, and lessons we learned to help you prepare for your first trip and beyond.
2. THE PRE-TRIP CHECKLIST
3. WHAT WE TESTED
COOKWARE
Some of the essential swaps we made were:
Nesting pots and pans > regular non-stick pots and pants
Camping silverware set > sturdy full-size utensils
Deep wall plate/bowl combo > regular plates and bowls
One key item we swapped out was a nesting pots and pans set. It seemed obvious, but in practice it was a pain to take everything out of the cabinet just to get the one pot or pan you needed.
In addition to that inconvenience, your options when it comes to nesting cookware are extremely limited and lack important features such as high quality non-stick surfaces. We also wanted standard sized cookware (8”/10”) as opposed to the smaller sets typically seen for camping/backpacking use.
After our first few meals using the best nesting set we could find, we quickly learned that most dishes resulted in caked on messes, which inevitably resulted in much higher water consumption during cleanup. We’re no chefs, but we think this has to do with the thin material heating more quickly and unpredictably than traditional at-home cookware.
We ended up switching the nesting cookware for the t-fal non-stick frying pans that work wonders. We liked them so much we bought a second set for home! They take up a little more space but it’s well worth it for the ease of cleanup. Not having to swap a detaching handle between pot and pan was welcome too.
We also substituted silicon lids in place of the fragile glass lids that come with most.
The other items we swapped were for the same reason. We found that having traditional silverware and plates/bowls was worth the little bit of extra space they take up. As we said, we had more space than we anticipated so why not make life a little more convenient!
COOKING INSIDE
If you aren’t familiar, the four wheel campers come equipped with a two-burner gas stove within the camper. This is great for quickly boiling water for coffee, using in bad weather, or generally any meal that has a neural odor.
What it’s not great for is cooking food items with strong odors or odors that tend to linger.
We had initially delayed the purchase of an outside stove and thought one night of cooking inside would do no harm.
Wrong.
Not only did we quickly purchase an outdoor stove after getting home but we also spent days washing and airing out the inside of the camper while simultaneously going through a half bottle of Febreze.
All is well now. We got the camper smelling good again and have made it a habit to always cook outside with only a few exceptions. Not only do you get to enjoy a great view while cooking outside, but you don’t have to deal with the smells of sausage, bacon, onions, etc for the next day.
After upgrading from 3” to 4” memory foam bedding, it still looks factory.
THE BED
The next item that received an immediate upgrade was the bed. Though, calling it a bed is really an over statement.
We had watched a video from a fellow four wheel camper owner prior to getting our own and one thing he had mentioned was his immediate swap of cushions on the bed.
Funnily enough, we thought “anything will be more comfortable than the ground, we can definitely suck it up and get used to the bed the camper comes with.”
We couldn’t have been more wrong.
We quickly realized that with the comfort of a camper, you shouldn’t have to feel like you’re sleeping on the ground. We will happily save that for future backpacking trips.
The 2" layer on top is soft and easy on the hips and shoulders when side sleeping. Meanwhile the 2" bottom layer is more firm and, while it still gives and forms to the body, provides enough support and resistance to prevent contact with the hardwood underneath it all.
We also tried another single layer topper previous to the Allswell and that's exactly the problem we had. It was too soft and allowed you to sink to the bottom.
Try a few different options, making sure you're able to return or exchange, and make sure you absolutely love it before cutting it up into pieces! Overlay the old cushions and trace the size and shape onto your replacement foam, then get to cutting! A serrated bread knife worked great for that, by the way.
This option was best for us and we hope it at least gives you some ideas to improve your comfort as well.
For an option from Amazon with free shipping and returns, check out this 4” dual density topper. It’s dual layered and looks to be identical to the one we have come to love.
4. WHAT DID WE FORGET?
Picture taken prior to our attempted fix of the leaky shower head in the Home Depot parking lot during a later trip to Colorado .
THE SHOWER
This oversight resulted in a wasted day visiting many RV shops, followed by a few home depot trips, and also several choice words trying to patch it up. The pipe thread tape, new o-rings, and duct tape did not do the trick and we had to deal with a leaky shower head for the remainder of that trip. When trying to limit your water consumption, a leaking hose is quite frustrating.
Maybe this entire situation could have been avoided, maybe not. But still, we should have tested that out at home. We would recommend having the spare parts to fix anything like this, or in the case of the hose and shower head, a complete back up.
Had we tested this, we would have known to get some sort of shower mat to stand on (something we highly recommend if you plan on taking outdoor showers).
BACK SEAT STORAGE
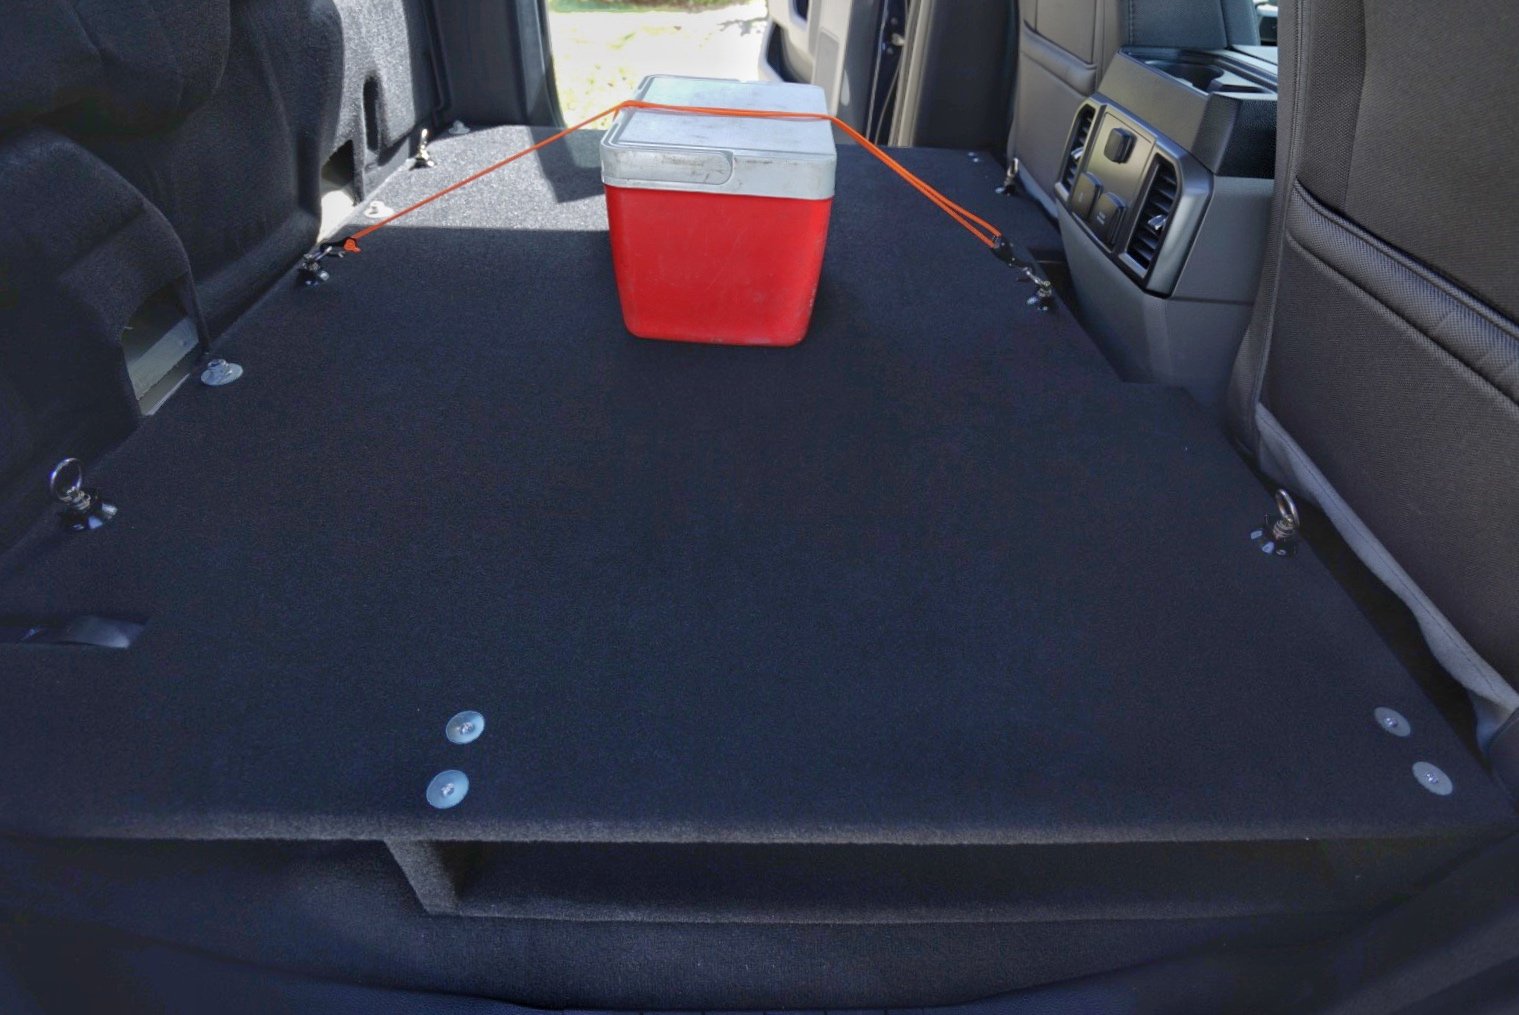
The second major thing we wished we had prepared better for was the way we had organized our gear inside the cab of the truck.
We do admit that this is more of an “adapt as you go” situation because you won’t truly know what works for you without having all of your gear out on the road, but we still feel we could have tested out better before leaving for 10-days.
If we could do it over again, we would have packed more of our gear even for a one night trip, just to see how everything would fit and make our first longer trip less stressful.
5. TAKEAWAYS
We learned a lot! This single night out in the camper did prepare us for a long trip in more ways than one. We found that some of our essential gear needed to be swapped out. We learned we needed more comfortable sleeping conditions. We figured out how to prep for meals on the road.
In the end, we highly recommend a true test run before you take on a multi-day trip. To recap, here are the key takeaways:
Make an all inclusive packing list
Pack all of your gear and try to access it
Use everything even if you don’t think you need to
Spend more than a single night away from home
Keep a running list of what’s not working and what you should change later
Most importantly, remember you can’t get everything right the first time. Some things will just come with your own unique experiences. Learn to adapt and enjoy the moments.
That’s it for now!
We hope you learned a thing or two while preparing for your long vacations on the road. Some of our tips may be specific to four wheel campers but most things can be applied to any type of vehicle used on the road. . . jeeps, RVs, vans, trailers, etc.
If there’s anything you wish you would have known before your first big trip on the road that we didn’t touch on, leave a comment below! We’d love to hear what challenges you faced or what tips you might have for others embarking on a similar journey! There may even be things we haven’t run into that we should test/prepare for at home before our next trip.
Catch ya next time!
Taylor and SethHi, we’re Seth and Taylor and we love sharing all things related to outdoor adventure!
We love anything that gets us outside — hiking, biking, backpack, road tripping, and so much more! We love sharing our adventures and hope it helps YOU get out to see more.
Newsletter:
Be the first to know when we release something new and sign up for our Newsletter!


This photo journal invites you to explore the vibrant heart of San Francisco, a city renowned for its iconic landmarks, diverse neighborhoods, and breathtaking vistas. From the majestic Golden Gate Bridge to the charming streets of Chinatown, each image captures the essence of a city that is both timeless and ever-evolving. As you wander through these images, let the unique character and beauty of San Francisco unfold before your eyes, offering a glimpse into the spirit and stories that make this city truly unforgettable.